Funeral Marketing: Getting Started with Educational Videos
January 17th, 2012This is the third blog post in a 4-part series on The Value of Video. Stay tuned for more!

In my previous two posts, I shared with you how the use of video can increase engagement and visibility of your funeral home website, and 4 ways to establish credibility with an educational video library.
Today, I’m going to teach you a 5-step program on how to get started with educational videos yourself, as well as offer those not-so-tech-savvy funeral professionals a done-for-you, out-of-the-box solution.
Step 1: Develop a Strategy
As with any of your marketing efforts, it’s important to develop a clear, concise strategy of what you want to accomplish. When creating an educational video for your funeral home website, you have to be sure it serves a purpose for the families who are visiting your website. One of the best ways to determine which topics will most benefit them is to consider making videos that answer their most commonly asked questions. For example: What to do when a death occurs? Or how to pre-arrange a funeral service?
Step 2: Write a Script
Once you’ve determined the topic you want to cover in the educational video, then it’s time to write a script. You want the script to be informative, but you don’t want to overwhelm your viewer with too much information—shoot for a video length of 1-3 minutes. Keep the script short and to the point and make sure to include key takeaways and step-by-step instructions whenever possible so your families understand how to execute the topic at hand.
Step 3: Film
Whether your video is going to feature live actors or still images, make sure you use engaging footage to draw your viewers in and hold their attention. It’s not necessary to hire a professional to film the video for you, however, we do recommend using a high definition camera for best results. Also, if you’re planning to film live actors, you should invest in lapel microphones, instead of the camera’s built-in microphone—it will make a huge difference in the quality of your video.
Step 4: Edit Footage
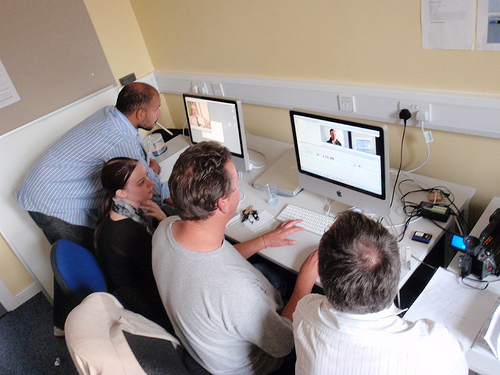
Once you have finished filming the footage for your educational video, it’s time to edit the footage into a video using voice over or an actor. They are many different options available for video editing software, but for beginners, it’s probably best to start out with one of the following:
• iMovie (for Mac users)
• Adobe Premiere (for Mac and PC users)
• Movie Maker (for PC users)
Step 5: Export Video to Web
After editing is complete, your video is ready for export. Create a web-friendly export of your video and post it on your funeral home website or on popular video sharing websites such as YouTube, Vimeo, Google, Yahoo or Viddler. For best results, we recommend your video be in either .flv or h.264 formats for the web.
Need Help Creating a Video?
For those of you who don’t have the time, resources or interest in creating a video yourself…we recommend you hire someone to do it for you. With the use of video gaining popularity, it’s no longer an option whether or not you have an educational video on your funeral home website.
Lucky for you, there are plenty of affordable solutions available today. By hiring professionals to produce the educational videos for your funeral home website, you have the added benefit of knowing they will be optimized to generate significant results for your website. Feel free to contact us for more information!
Have you created an educational video for you funeral home website? If so, we’d love to hear about your experience and welcome any feedback you’d like to share!


[…] Funeral Marketing: Getting Started with Educational Videos […]